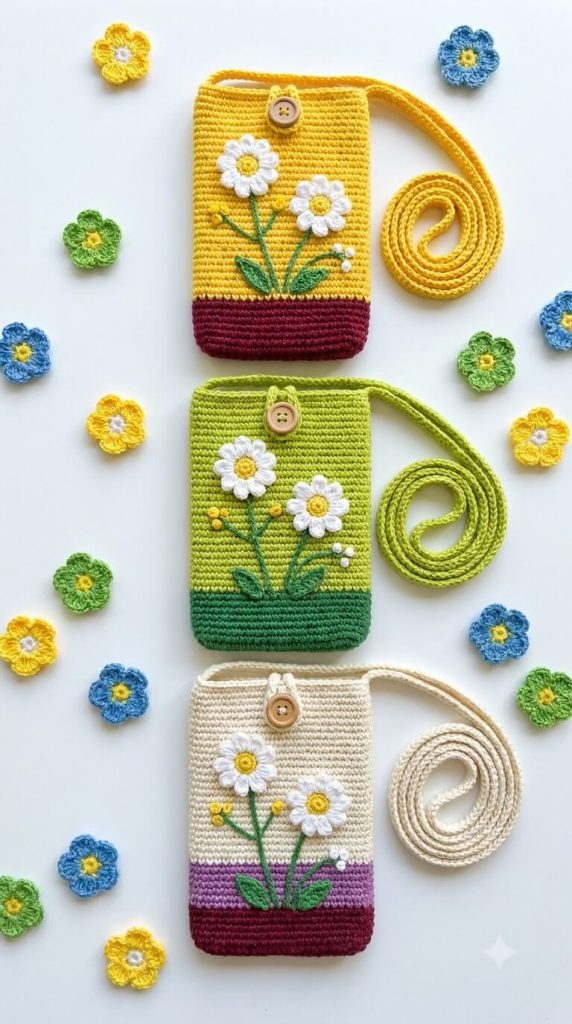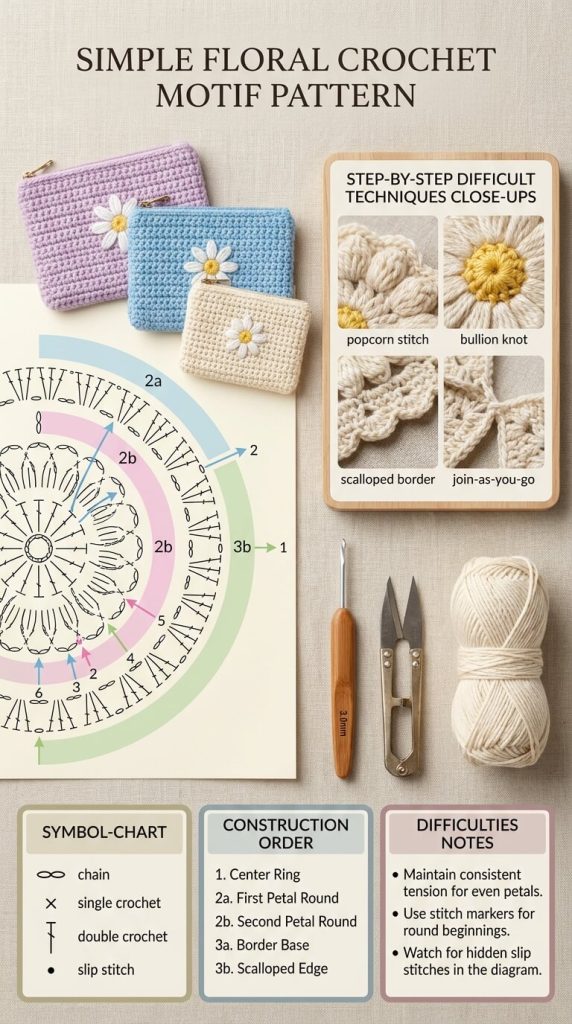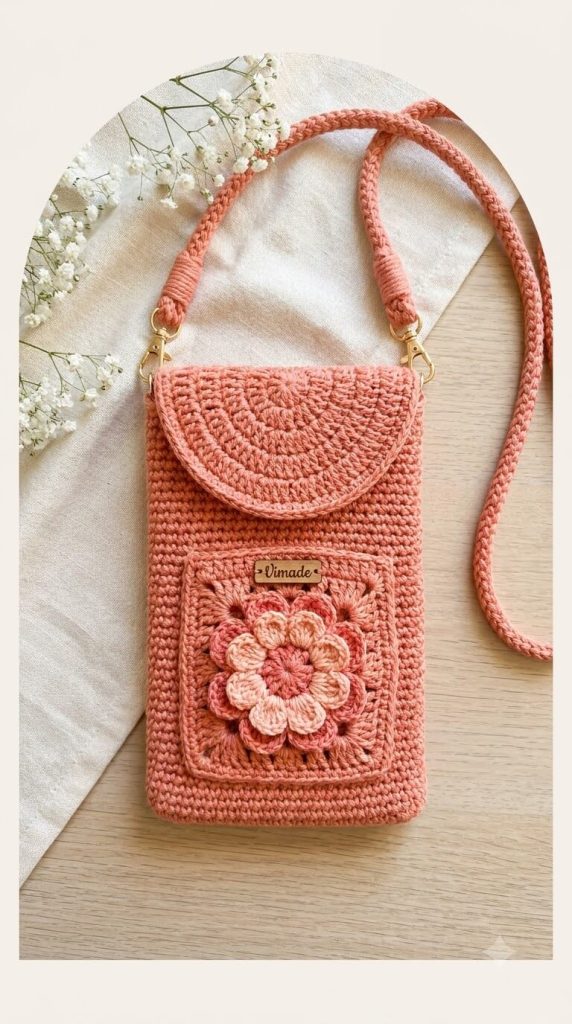
This comprehensive article breaks down how to construct a structured phone pouch featuring a 3D layered flower granny square pocket, a rounded half-circle top flap, and an corded crossbody strap connected with metal swivel clasps.
1. Materials & Equipment
- Yarn: 100% Cotton Yarn (Sport / Light Worsted Weight, Category 2 or 3)
- Main Color (Terracotta/Coral Pink, approx. 80g): For bag body, top flap, pocket border, and strap.
- Secondary Flower Color (Medium Rose/Pink, approx. 15g): For the outer petal layer.
- Center Flower Color (Light Peach/Blush, approx. 10g): For the inner petal layer.
- Crochet Hook Size: $3.0\text{ mm}$ ($US\ C-2$) or $3.5\text{ mm}$ ($US\ E-4$) to maintain a tight, dense weave.
- Hardware & Accessories:
- 2 Gold Swivel Snap Hooks / Clasps ($1/2\text{ inch}$ or $15\text{mm}$).
- 2 Gold D-Rings or O-Rings.
- 1 Magnetic Snap Fastener (or sewn button under the flap).
- 1 Wooden Brand Label Tag (Optional).
- Tapestry needle & scissors.
2. Crochet Abbreviations (US Terms)
- ch: chain
- sl st: slip stitch
- sc: single crochet
- hdc: half double crochet
- dc: double crochet
- tr: treble crochet
- blo: back loop only
- flo: front loop only
- MR: magic ring
3. Detailed Step-by-Step Instructions
Part 1: Main Pouch Body (Solid Single Crochet Base)
The main pouch is worked seamlessly from the bottom up in continuous rounds.
Oval Base
- Foundation Chain: Chain 18 using Terracotta Yarn.
- Round 1: Starting in the 2nd chain from hook, work $1\text{ sc}$ in each of the next 16 chains. Work $3\text{ sc}$ in the last chain to turn the corner. Rotate and work $1\text{ sc}$ in each of the next 15 chains along the opposite side, then $2\text{ sc}$ in the final chain. Do not join; work in a continuous spiral. (Total: 36 sts)
- Round 2: $1\text{ inc}$ in first st, $15\text{ sc}$, $3\text{ inc}$ around the curved end, $15\text{ sc}$, $2\text{ inc}$. (Total: 42 sts)
- Round 3: Work $1\text{ sc}$ in the Back Loop Only (BLO) of every stitch around to create a firm bottom ridge. (42 sts)
Pouch Walls
- Rounds 4–40: Work $1\text{ sc}$ through both loops of every stitch around. Continue working in spiral rounds until the pouch reaches approximately $7\text{ inches}$ ($18\text{ cm}$) in height.
- Top Edge & D-Ring Attachment: On the final round, insert 1 D-Ring on each side of the pouch rim, single crocheting over the flat side of the ring to secure it directly into the fabric edge. Slip stitch to finish and weave in ends.
Part 2: 3D Layered Flower Granny Square Pocket
The pocket features a dimensional 2-layer flower worked using Front Loops and Back Loops.
Center & Inner Petals
- Round 1 (Center): With Terracotta/Deep Rose Yarn, make a Magic Ring. Work $8\text{ sc}$ into the ring. Join with sl st to 1st sc. (8 sts)
- Round 2 (Inner Petal Base):
*Ch 3, sl st into next st*8 times around. (8 chain loops) - Round 3 (Inner Light Pink Petals): Switch to Light Peach/Blush Yarn. In each ch-3 loop, work:
(1 sl st, 1 sc, 3 dc, 1 sc, 1 sl st). (8 inner petals made)
Outer Petals
- Round 4 (Outer Petal Base): Fold inner petals forward. Attach Medium Rose Yarn to the unworked Back Loops of Round 1 directly behind the petals.
*Ch 4, sl st into next back loop*8 times around. (8 larger back chain loops) - Round 5 (Outer Rose Petals): In each ch-4 back loop, work:
(1 sl st, 1 sc, 1 hdc, 3 dc, 1 hdc, 1 sc, 1 sl st). (8 outer petals made)
Squaring the Flower into a Pocket Panel
- Round 6 (Background Frame): Attach Terracotta Yarn to the back of Round 5 behind any outer petal.
- First Corner:
(Ch 3 [counts as 1 dc], 2 dc, ch 2, 3 dc)into back loop. - Side: Ch 1, work
3 hdcin back of next petal, ch 1. - Corner: Work
(3 dc, ch 2, 3 dc)in back of next petal. - Repeat around to complete a square frame. Sl st to join.
- First Corner:
- Rounds 7–8 (Solid Frame): Work $1\text{ sc}$ in each stitch across the sides, working
(2 sc, ch 1, 2 sc)into each of the 4 corner ch-2 spaces. - Attachment: Sew the completed square pocket flat onto the front lower panel of the pouch using a tapestry needle. Optional: Stitch a small wooden brand tag centered right above the flower.
Part 3: Half-Circle Top Flap
The top cover is worked in rows attached along the back upper rim of the pouch.
- Row 1: Attach Terracotta Yarn across 16 stitches centered on the back top rim of the bag body. Work $16\text{ sc}$. Ch 2, turn.
- Row 2: Work $2\text{ dc}$ in each stitch across to begin shaping the fan curve. Ch 2, turn. (32 sts)
- Row 3:
*1 dc in 1st st, 2 dc in next st*repeat across. Ch 2, turn. (48 sts) - Row 4: Work $1\text{ dc}$ in every stitch across the curve.
- Row 5 (Edge Border): Work $1\text{ sc}$ into each stitch around the curved outer edge to give a neat, weighted hem. Fasten off and weave in ends.
- Closure: Attach a magnetic snap button on the underside of the flap and the front wall behind the pocket.
Part 4: Tubular Cord Strap with Swivel Clasps
- Using Terracotta Yarn, attach to the loop of the first Gold Swivel Clasp.
- Work a 3-stitch I-Cord or Thermal Stitch Strip for high density and anti-stretch durability:
- Row 1: Ch 3, work $1\text{ sc}$ in 2nd and 3rd chain from hook.
- Rows 2 onward: Work $1\text{ sc}$ in the back loops / back ridge loops only across 3 stitches until the strap reaches desired length (approx. $44\text{ to }48\text{ inches}$ / $110\text{ to }122\text{ cm}$).
- Finish: Securely stitch the end of the strap onto the loop of the second Gold Swivel Clasp. Wrap yarn around the ends near the clasps for a neat finished look, then clip the clasps onto the bag’s D-rings.