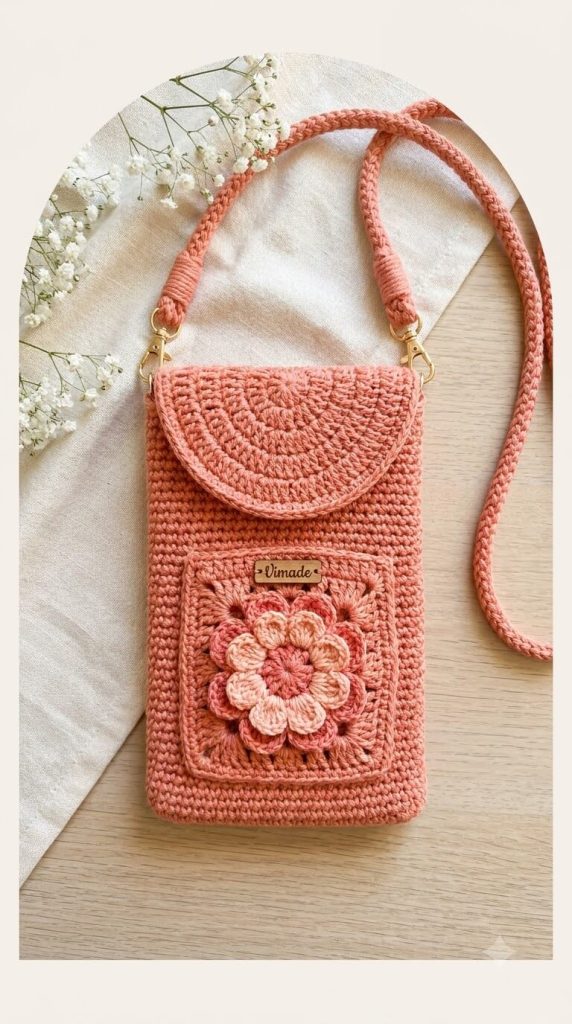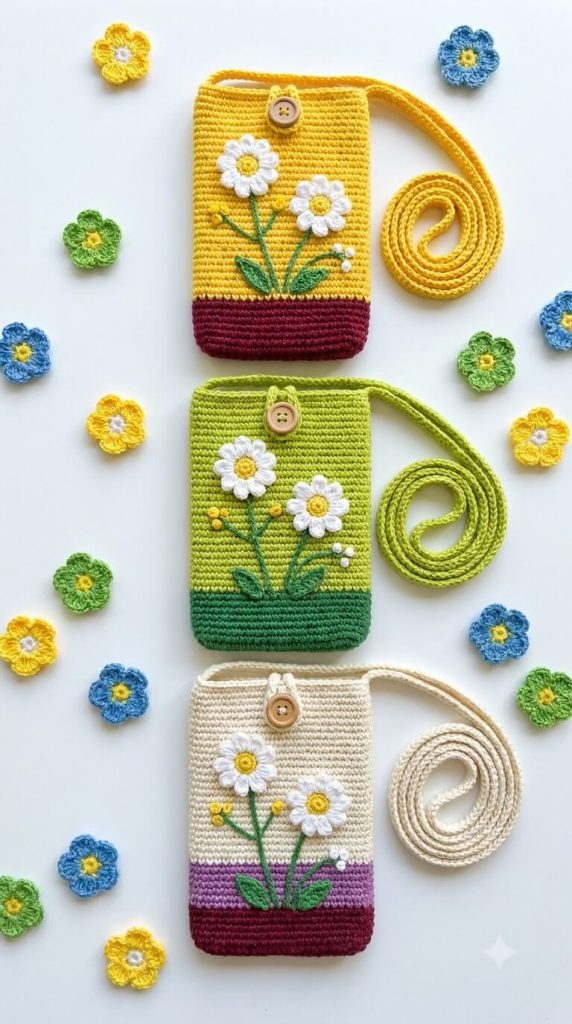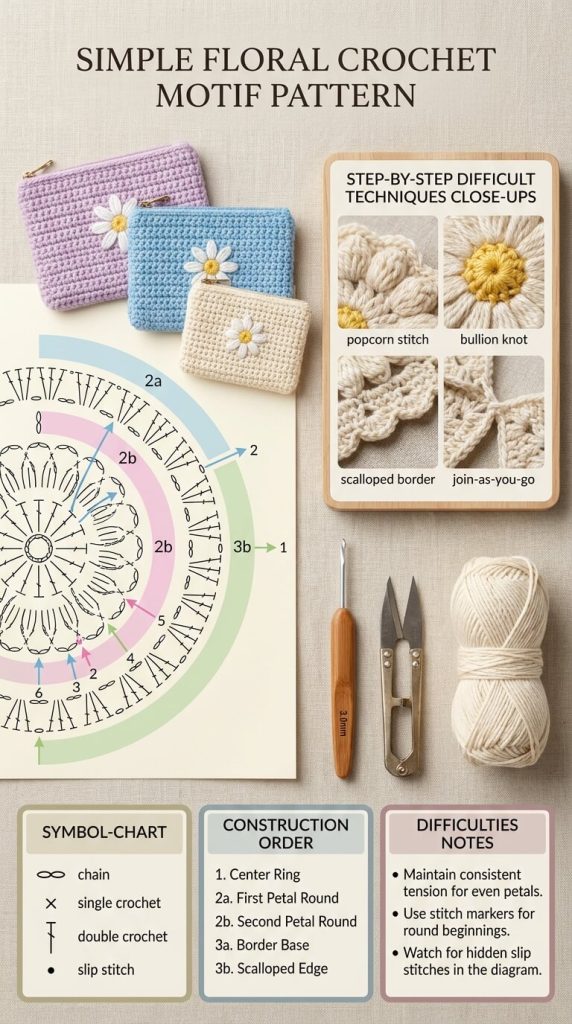
If you have seen similar crochet phone pouch patterns floating around that felt confusing, incomplete, or technically inaccurate, this comprehensive, step-by-step guide fixes those common mistakes.
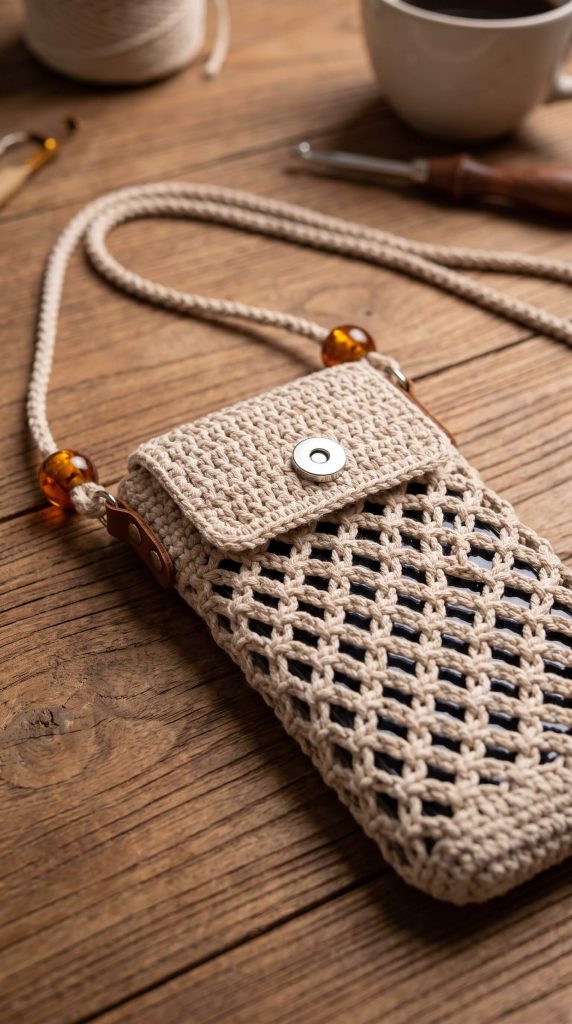
Looking closely at the bag design:
- The Base & Edging: Solid single crochet worked in the round for structure and strength at the bottom and top border.
- The Body: An offset diamond mesh pattern (chain space grid) that creates a flexible lattice showing the inner phone backing.
- The Flap: A dense, solid single crochet panel worked directly off the back rim.
- Hardware & Accents: Leather strap tabs fixed with rivets, wooden/amber accent beads, a corded crossbody strap, and a sew-on magnetic snap button.
Materials Needed
- Yarn: 100g / 120m of #3 Light or #4 Medium Worsted Cotton Cord / Macramé Yarn (Natural Linen or Ecru). Cotton cord provides the firm stitch definition required for the mesh grid to stay crisp without sagging.
- Crochet Hook: 3.5 mm or 4.0 mm (use a size smaller than recommended on your yarn label to ensure tight, neat stitches).
- Hardware & Notions:
- 1 Sew-in or rivet magnetic clasp (approx. 14mm to 18mm)
- 2 Small leather attachment tabs with rivets or prepunched holes (approx. 1.5cm x 4cm)
- 2 Amber or wooden decorative beads with wide holes
- Tapestry needle & thread
- Stitch markers & scissors
Pattern Abbreviations (US Terms)
- Ch: Chain
- Sc: Single Crochet
- Dc: Double Crochet
- Sl St: Slip Stitch
- Sk: Skip
- Sp: Space
- St(s): Stitch(es)
Step-by-Step Crochet Instructions
Part 1: The Solid Reinforced Base
We start by making a sturdy oval base so the phone doesn’t poke out through the bottom.
- Foundation Chain: Ch 15 (or a chain matching the bottom width of your phone + 1 cm).
- Round 1: Sc in 2nd ch from hook and in next 12 chs. Work 3 sc in the last ch (turning corner). Working along the opposite side of the foundation chain, sc in next 12 chs, work 2 sc in the last ch. Sl st to 1st sc to join. (30 sts)
- Round 2: Ch 1, 2 sc in first st, sc in next 12 sts, 2 sc in each of the next 3 sts, sc in next 12 sts, 2 sc in last 2 sts. Sl st to join. (36 sts)
- Round 3: Ch 1, sc in back loops only across all 36 sts. Sl st to join. (This creates a sharp bottom edge that helps the phone stand flat).
Part 2: The Diamond Mesh Body
The main body uses a repeating Ch-3 / Sc lattice worked in rounds.
- Round 1: Ch 1, sc in same st, *ch 3, sk 2 sts, sc in next st; repeat from * around, ending with ch 3, sk 2 sts, sl st to first sc. (You will have 12 mesh loops).
- Round 2: Sl st into the first ch-3 space, ch 1, sc in the same space. *Ch 3, sc in next ch-3 space; repeat from * around, ending with ch 3, sl st to first sc.
- Rounds 3 – 18 (or desired height): Repeat Round 2 until the pouch reaches the top edge of your phone.
Part 3: The Top Rim
To stabilize the lattice before starting the flap:
- Round 1: Ch 1. Work 2 sc into each ch-3 space and 1 sc into every sc st around. Sl st to join. (36 sts)
- Round 2: Ch 1, sc in every st around. Sl st to join. Do not fasten off.
Part 4: The Solid Flap
The flap extends from the back half of the top rim.
- Row 1: Identify the 16 back stitches of your pouch. Ch 1, sc in next 16 sts. Turn.
- Rows 2 – 10: Ch 1, sc in each st across. Turn. (Continue until the flap folds over the front smoothly).
- Border: Ch 1, work a row of single crochets evenly around the three raw edges of the flap to create a clean, square border. Fasten off and weave in ends.
Finishing & Assembly
- Attaching the Magnetic Snap: Center the male half of the magnetic snap on the underside of the flap. Center the female half on the front solid section of the pouch rim. Secure tightly with thread or rivets.
- Side Leather Tabs: Position a leather tab on each upper side edge of the pouch. Secure them with rivets or stitch them firmly using heavy-duty thread.
- Crossbody Strap & Beads:
- Crochet a sturdy cord (such as an I-cord or a 120cm chain of double-strand sc) or use matching cord.
- Slide one amber bead onto each end of the strap.
- Pass the ends through the leather side tabs and tie a secure knot beneath each bead so it rests against the tab as shown in the design.