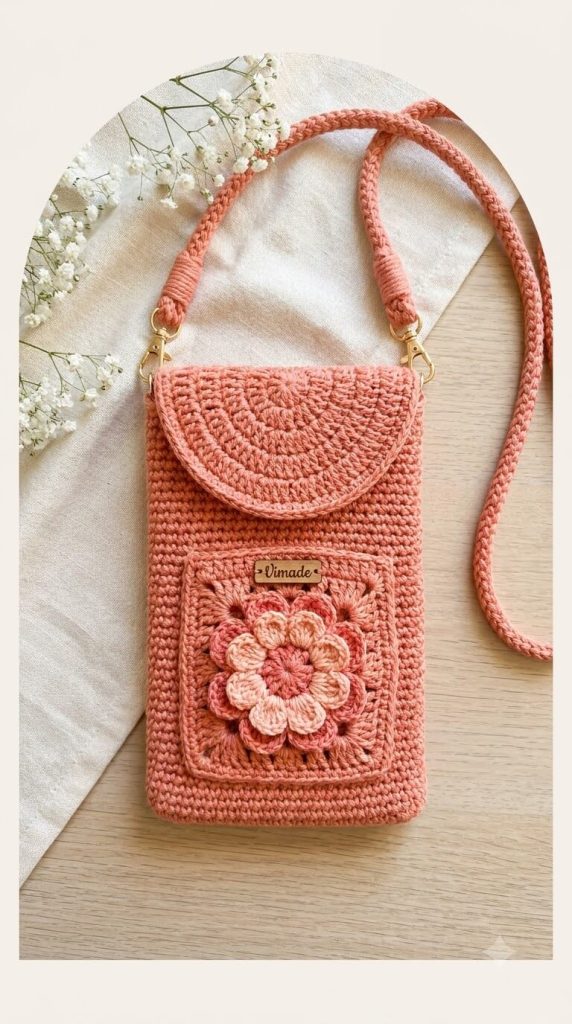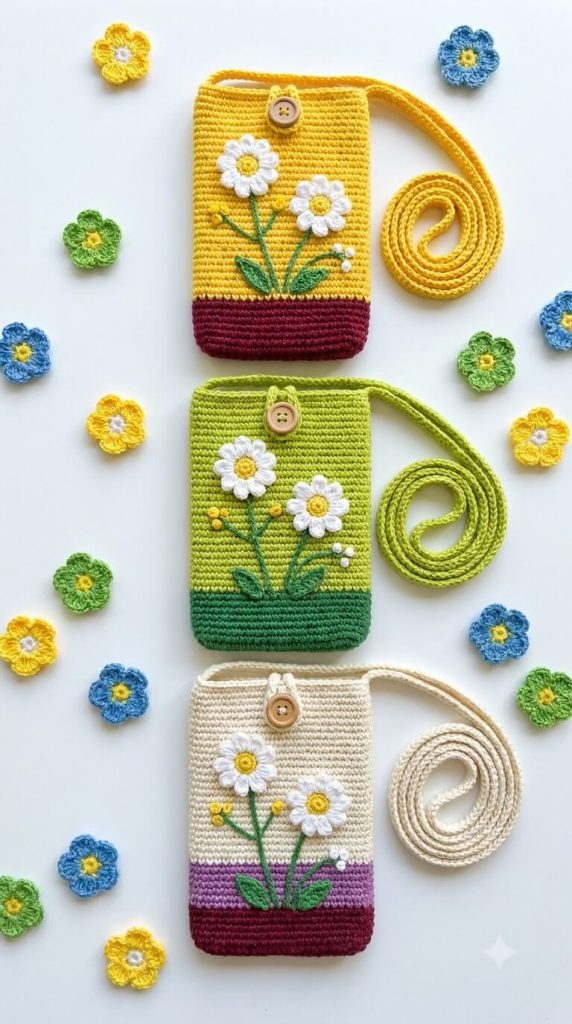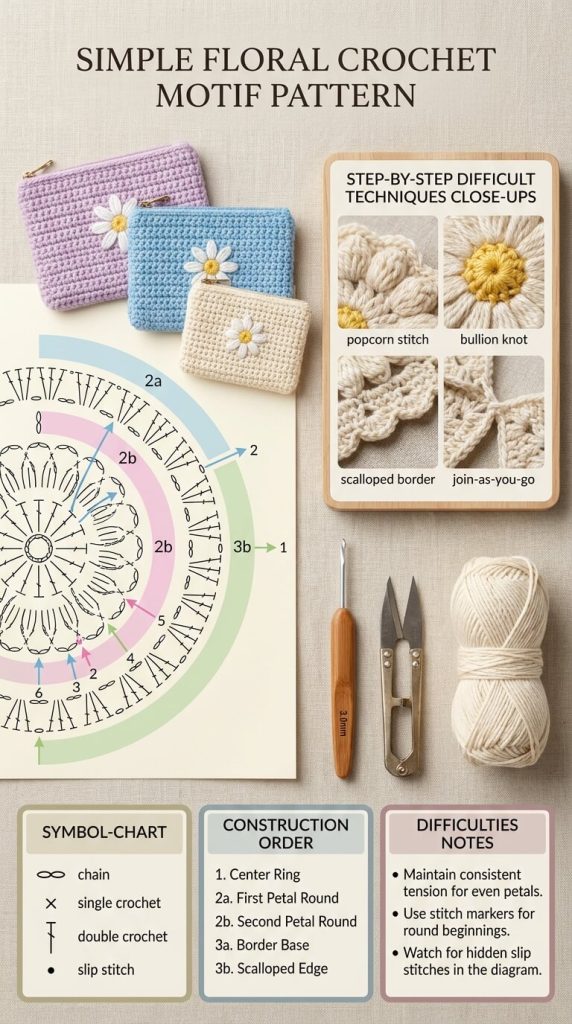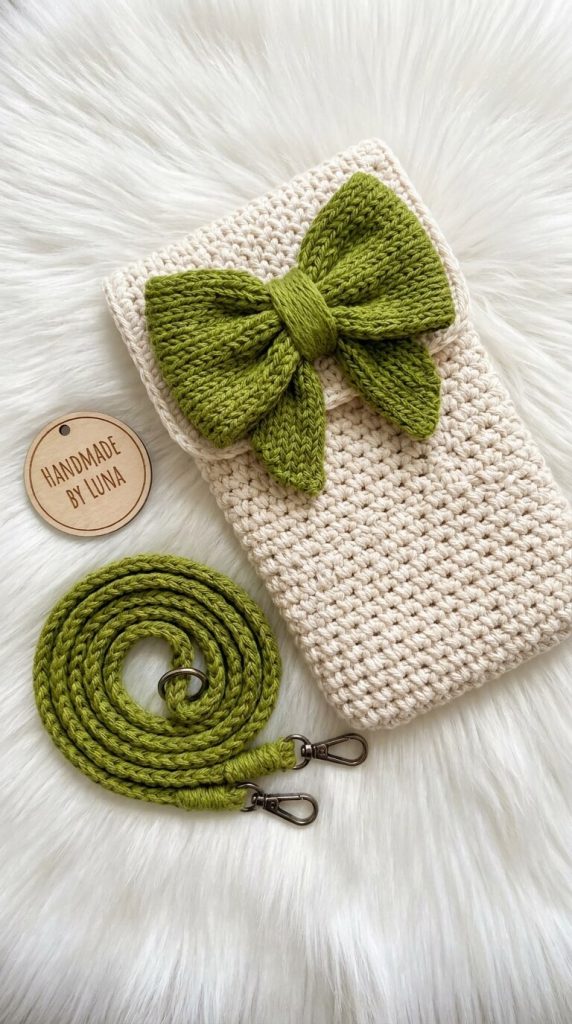
The cream-colored phone pouch with a large sage-green bow shown in the image is a popular modern accessory. It combines a simple, structured pouch body worked in a dense textured stitch with a statement bow and a matching adjustable strap. The overall look is clean, feminine, and practical — perfect for everyday use or as a handmade gift.
This guide explains exactly how to recreate this style with accurate construction methods, materials, and finishing details.
Materials
- Yarn
- Main pouch: Worsted-weight (category 4) or DK-weight cotton or cotton-blend yarn in cream/ivory (approximately 80–120 yards)
- Bow and strap: Matching weight yarn in sage green or olive (approximately 50–70 yards)
Cotton or cotton-blend yarn is strongly recommended because it holds its shape better than acrylic and feels more premium.
- Hook: 4.0 mm – 4.5 mm (for a firm fabric that won’t stretch out of shape)
- Notions
- Yarn needle
- Scissors
- Stitch markers
- 2 metal lobster clasps or swivel hooks (for the strap)
- Optional: magnetic snap or button for closure
- Optional: small wooden or leather “Handmade” tag
Finished Size
The pouch in the photo is sized to fit most modern smartphones (roughly 6–7 inches tall and 3.5–4 inches wide when laid flat). You can easily adjust the starting chain and number of rows to fit your specific phone.
Stitch Used for the Pouch Body
The body is worked in a dense, textured stitch that creates a neat, fabric-like surface. The most common options that match the photo are:
- Single crochet (sc) worked tightly
- Waistcoat stitch (also called knit stitch) — this gives the cleanest vertical texture
- Half double crochet (hdc) in the back loop only for subtle ridges
Waistcoat stitch or regular single crochet in a firm tension produces the look closest to the image.
Step-by-Step Construction
1. The Pouch Body
- Chain the number of stitches needed for the width of your phone plus a small ease (usually 18–22 chains for most phones).
- Work in single crochet or waistcoat stitch in rows or in the round.
- If working flat: make a rectangle twice the height of the phone, fold it in half, and seam the sides.
- If working in the round: create an oval or rectangular base, then work even rounds until the desired height.
- Continue until the pouch is slightly taller than your phone.
- Fasten off and weave in ends.
For a cleaner finish, many makers work the body as a flat rectangle, fold it, and join the sides with a slip-stitch or mattress seam so the edges look tidy.
2. The Large Bow The bow is the standout feature. It is usually worked as a separate piece and sewn on.
Simple Bow Method
- Chain a long foundation (approximately 40–50 chains, depending on desired bow size).
- Work several rows of single crochet or half double crochet until the piece is a long rectangle (about 2–2.5 inches wide).
- Fasten off, leaving a long tail.
- Pinch the rectangle in the center and wrap the yarn tail tightly around the middle several times to form the bow shape. Secure the wraps firmly.
- Shape the loops of the bow with your fingers.
Alternatively, you can crochet two loops and a center band separately and sew them together for a more structured bow.
3. Attaching the Bow Position the bow on the upper front of the pouch (slightly off-center or centered, as preferred). Sew it securely through the center wraps so it sits flat and does not flop. Use matching green yarn and small, neat stitches.
4. The Strap
- Create a long, thin cord using one of these methods:
- Crochet a chain and work single crochet or slip stitches back along the chain.
- Use a simple i-cord.
- Crochet a narrow tube in the round.
- Make the strap long enough to wear crossbody or as a shoulder strap (usually 40–50 inches).
- Attach metal lobster clasps or swivel hooks to each end of the strap.
- Sew or crochet small loops or D-rings onto the top corners of the pouch so the strap can be clipped on and off.
5. Optional Closure A magnetic snap, button, or small flap can be added at the top opening for security. Many versions of this design are left open for easy access.
6. Finishing Touches
- Weave in every end carefully.
- Block the pouch lightly if needed so the edges are straight.
- Attach a small wooden or leather tag if desired.
- Check that the phone slides in and out smoothly without stretching the fabric.
Tips for a Professional Result Matching the Photo
- Keep tension firm and even throughout the pouch body so it holds its rectangular shape.
- Use cotton yarn — acrylic tends to look softer and less structured.
- Make the bow generously sized; the oversized bow is what gives this design its signature look.
- Match the strap color exactly to the bow for a coordinated appearance.
- Metal hardware elevates the finished piece and makes the strap functional and removable.
Customization Ideas
- Change the main color to black, beige, or pastel while keeping the bow in a contrasting shade.
- Add a lining for extra protection and a polished interior.
- Embroider a small initial or motif next to the bow.
- Make a matching mini version for AirPods or a larger version for a tablet.
This cream pouch with the large green bow is a simple yet stylish project that works up relatively quickly once you have the basic shape. The combination of a clean textured body, bold bow, and practical strap creates a piece that looks store-bought while remaining completely handmade.
Follow the construction steps above carefully, and you will achieve a result that closely matches the polished example in the photo. Happy crocheting!