Many online crochet tutorials for wearable pouches fail because they ignore elasticity, resulting in straps that sag or fail to hold items securely against the wrist. This corrected guide provides the exact stitch counts, construction steps, and hardware assembly visible in the design to create a comfortable, non-slip wrist wallet.
MP4
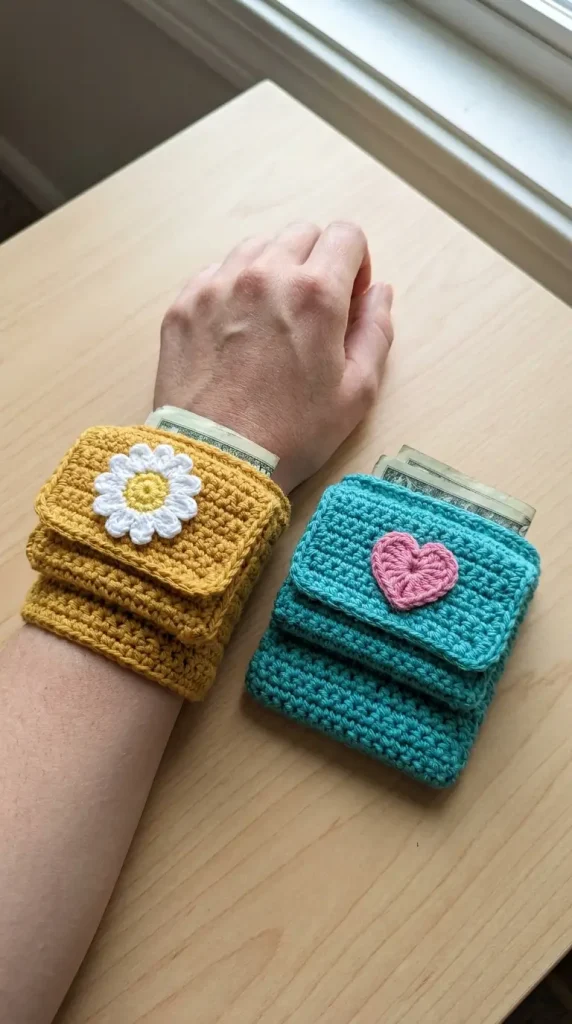
Looking closely at the wallet:
MP4
- The Pouch Body: A dense, flat rectangular pocket built with single crochet stitches to hold cards and folded cash snugly without stretching. MP4
- The Flap: A top closure flap accented with a 3D layered daisy or flower applique and secured with a metal snap fastener. MP4
- The Wrist Straps: Two horizontal extension bands fitted with metal snap buttons that wrap comfortably around the wrist. MP4
Materials Needed
- Yarn: 50g of #3 Light Cotton Yarn or Mercerized Cotton in Mustard Yellow, White, and Yellow (for the daisy detail). Cotton yarn is essential because it maintains structure and won’t stretch out from heat or moisture. MP4
- Crochet Hook: 2.5 mm or 3.0 mm (Use a small hook size to keep stitches dense and secure).
- Hardware:
- 3 sets of metal snap buttons / press studs (1 for the flap, 2 for the wrist straps) MP4
- Needle and thread for sewing snaps
- Notions: Tapestry needle and scissors.
Pattern Abbreviations (US Terms)
- Ch: Chain
- Sc: Single Crochet
- Sl St: Slip Stitch
- St(s): Stitch(es)
- BLO: Back Loop Only
Step-by-Step Crochet Instructions
Part 1: The Pouch Body & Flap
The pouch body is worked as one continuous strip, folded, and stitched up the sides.
MP4
- Foundation: Ch 15.
- Rows 1 – 32 (Pouch Body): Ch 1, sc in each st across. Turn. (14 sts)
- Note: This creates a strip approximately 18 cm long by 6 cm wide.
- Rows 33 – 40 (Flap): Ch 1, sc in each st across. Turn. (14 sts) MP4
- Row 41 (Flap Edge): Ch 1, sc 2, dec, sc 6, dec, sc 2. Turn. (12 sts)
- Border: Work a row of sl st around the outer edge of the flap for a clean, finished rim. Fasten off and weave in ends. MP4
Folding & Joining the Pouch:
- Fold the bottom edge of Row 1 up to Row 20 (creating a pouch depth of approx. 8 cm). MP4
- Join yarn at the bottom corner and single crochet through both layers up the right side. Repeat for the left side. MP4+ 1
Part 2: The Adjustable Wrist Straps
The wrist straps are worked directly onto the back of the pouch to ensure maximum support.
MP4
- Left Strap: Reattach yarn on the back of the pouch along the right side seam (centered vertically).
- Rows 1 – 20: Ch 1, sc across 4 sts. Turn. (Creates a strap approx. 8 cm long). Fasten off. MP4
- Right Strap: Reattach yarn along the left side seam (centered vertically).
- Rows 1 – 20: Ch 1, sc across 4 sts. Turn. (Creates the opposing strap). Fasten off. MP4
Part 3: The Daisy Flower Accent
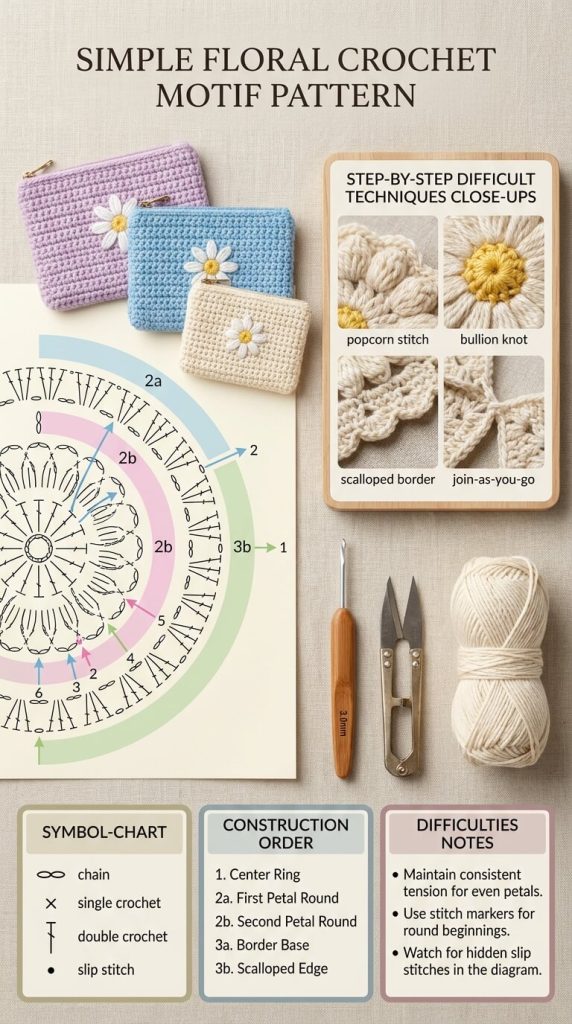
- Center: With yellow yarn, make a magic ring. Work 10 sc inside the ring. Sl st to join. Fasten off yellow yarn.
- Petals: Join white yarn in any st.
- Petal Stitch: [Ch 3, 2 dc in same st, ch 3, sl st in same st, sl st in next st] repeat around for 10 petals. Fasten off, leaving a tail for sewing. MP4
Assembly & Hardware Attachment
- Attach the Daisy: Sew the daisy applique centered onto the upper side of the top flap. MP4
- Flap Snap Button:
- Sew the top half of a metal snap button to the underside of the flap (behind the daisy). MP4
- Sew the matching bottom half to the front body of the pouch where the flap meets. MP4
- Wrist Strap Snaps:
- Attach two male metal snap studs to the underside end of the top wrist strap. MP4
- Attach the female snap sockets onto the top side of the bottom wrist strap, spaced to fit your wrist snugly. MP4